Today, I'm going to show you how to transform that stash of bows + headbands into a cute and tidy space. I have seen so many bow organizers in my bout of mom-hood, but I never found one that I thought was both practical and cute, so, well... I designed my own!
In case you didn't, know... I really love baby girl bows.
I mean really love them.
Okay, maybe I have a problem.
A big one.
Do you have a stash of bows and hairbands laying around in a chaotic mess? I feel you! Let's get that hairbow drawer organized.
This project cost me about $8, and took about an hour to create. You will need:
- a glue gun
- mini alligator clips (think jewelry section at Hobby Lobby/Joanns)
- command strips to hang (I actually just used a nail gun, your choice!)
- a plank of MDF moulding (in the wood/millwork area of Home Depot)
- something to cut the moulding to size
If you don't have a tool to cut the moulding, you can ask your Home Depot if they will cut it when you buy it, they cut my shiplap when I redid my bathroom... for free!
Okay, so basically these are wood panels with clips glued to them. So simple!
You can make your wood panels as long/short as you want, and you can make as many as you want! I did 3 rows, each one was 14"-ish long.
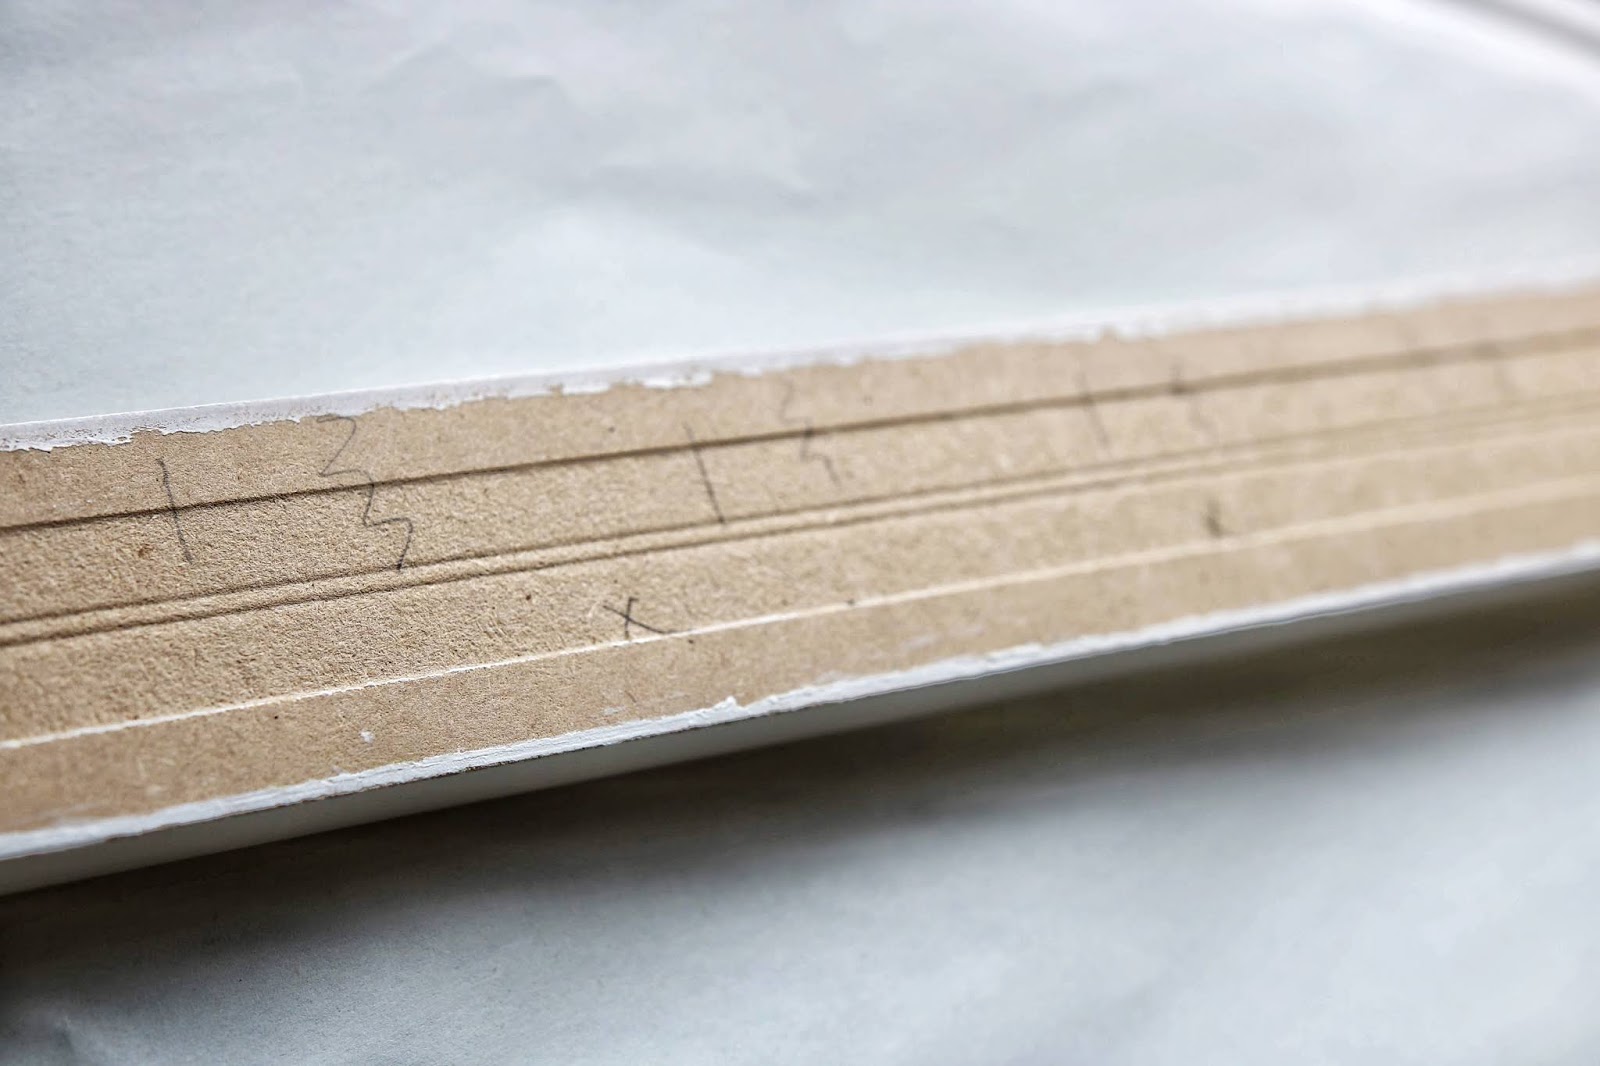
2. Mark where your clips will go, they should be equal distances apart. Flip the moulding over, take a ruler, and pencil a mark where each one should go. You can pencil the front, but it's very hard to erase on this texture. I spaced mine about 3" apart.
3. Flip the moulding back over to the clean white side, take note of where your first clip should go. Dab hot glue on the back of your clip, and place the clip onto the board towards the bottom, you want your bow to be able to freely hang.
*Note: I sprayed painted my clips gold because my nursery had gold accents, you can paint your clips and/or moulding any color you want!
 |
| Whew that glue gun has seen some thangs! |
4. Now go down the line and glue each clip on, just flip the moulding over each time to see where your pencil marks are.
5. Once all your panels have clips, install the boards onto the wall. You may use command strips for a damage-free option, or you can do what I did and shoot some brad nails in with a nail gun. Nails guns are too complicated to photograph in action solo, so here's a lovely photo of the command strip option.
6. Add your bows!
 |
| Yes I have a lot of bows, no this isn't even half of them... and don't judge my small shop addiction, this is a judgement free zone! |
Voila!
 |
| TADA! |
I hope you guys enjoyed enjoyed this tutorial, I really love sharing my ideas. I have one more bow-related DIY tutorial coming up this week, stay tuned!


No comments:
Post a Comment